1. Using the C.H.I.P. flasher for Chrome on Fedora
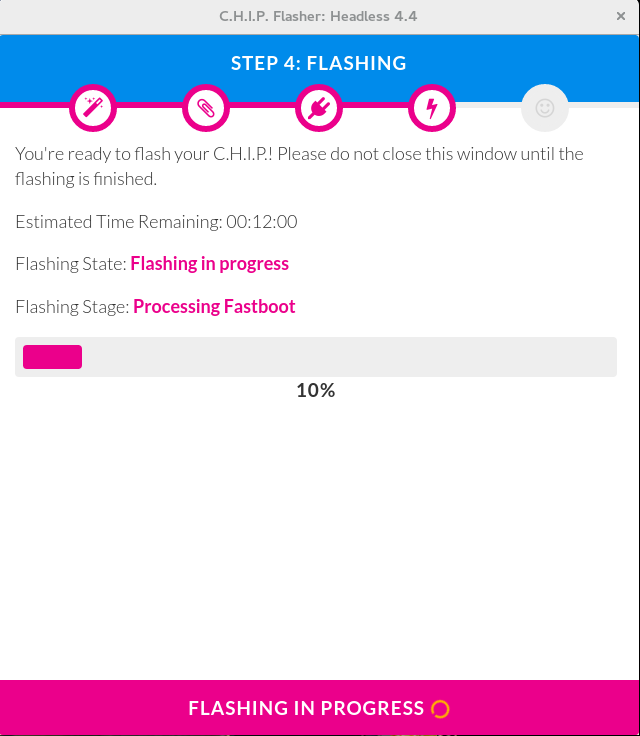
    C.H.I.P. Flasher

    C.H.I.P. Flasher

    Flashing the CHIP from Fedora using the Chrome Flashing plugin is only a little bit different from using Ubuntu. We still have to add the user to the dialout group, to allow accessing the device from the user's context (without root).

    sudo usermod -a -G dialout $(logname)
    

    If you're doing arduino-programming, you might already be member of the dialout-group. This can be checked with the groups command. If dialout is mentioned, then you can skip this step and also the re-logging.

    Then we need to create a file /etc/udev/rules.d/70-allwinner.rules with the following content:

    SUBSYSTEM=="usb", ATTRS{idVendor}=="1f3a", ATTRS{idProduct}=="efe8", TAG+="uaccess", SYMLINK+="usb-chip"
    SUBSYSTEM=="usb", ATTRS{idVendor}=="18d1", ATTRS{idProduct}=="1010", TAG+="uaccess", SYMLINK+="usb-chip-fastboot"
    SUBSYSTEM=="usb", ATTRS{idVendor}=="1f3a", ATTRS{idProduct}=="1010", TAG+="uaccess", SYMLINK+="usb-chip-fastboot"
    SUBSYSTEM=="usb", ATTRS{idVendor}=="067b", ATTRS{idProduct}=="2303", TAG+="uaccess", SYMLINK+="usb-serial-adapter"
    

    This links the CHIP to a location that the Flasher can identify. If you're doing other Allwinner-Flashing (I think the OrangePi does have a similar chip), you might run into problems here. But if you allready do, you probably know whether you're affected or not.

    Finally, one needs to reload the udev-rules with sudo udevadm control --reload-rules and logout and login again (or reboot), if the dialout group was added this session. And after that, the flasher should work fine.
  2. Upgrading Fedora 23 to 24

    Fedora 24 was released a few days ago.

    I've upgraded one of my machines. The others are soon to follow. One problem I discovered was that the default Gnome-X-Session does no longer support my touchpad, disabling tap-to-click for me. Switching to the Wayland session worked very well and I have yet to hit any glitch.

    If you're running Fedora 23 you can easily upgrade to Fedora 24 running the following console commands. But before that, make sure your system is fully upgraded and rebooted, especially if you installed some kernel updates.

    sudo dnf install dnf-plugin-system-upgrade
    sudo dnf system-upgrade download --releasever=24 --allowerasing
    

    The --allowerasing argument allows some packages to be deleted during the process. I had some dangling haskell packages, that needed to be deleted. No problem there.

    Once all the downloads are done, type sudo dnf system-upgrade reboot to reboot your system starting the actual upgrading process.


  3. Published: Sat 02 July 2016

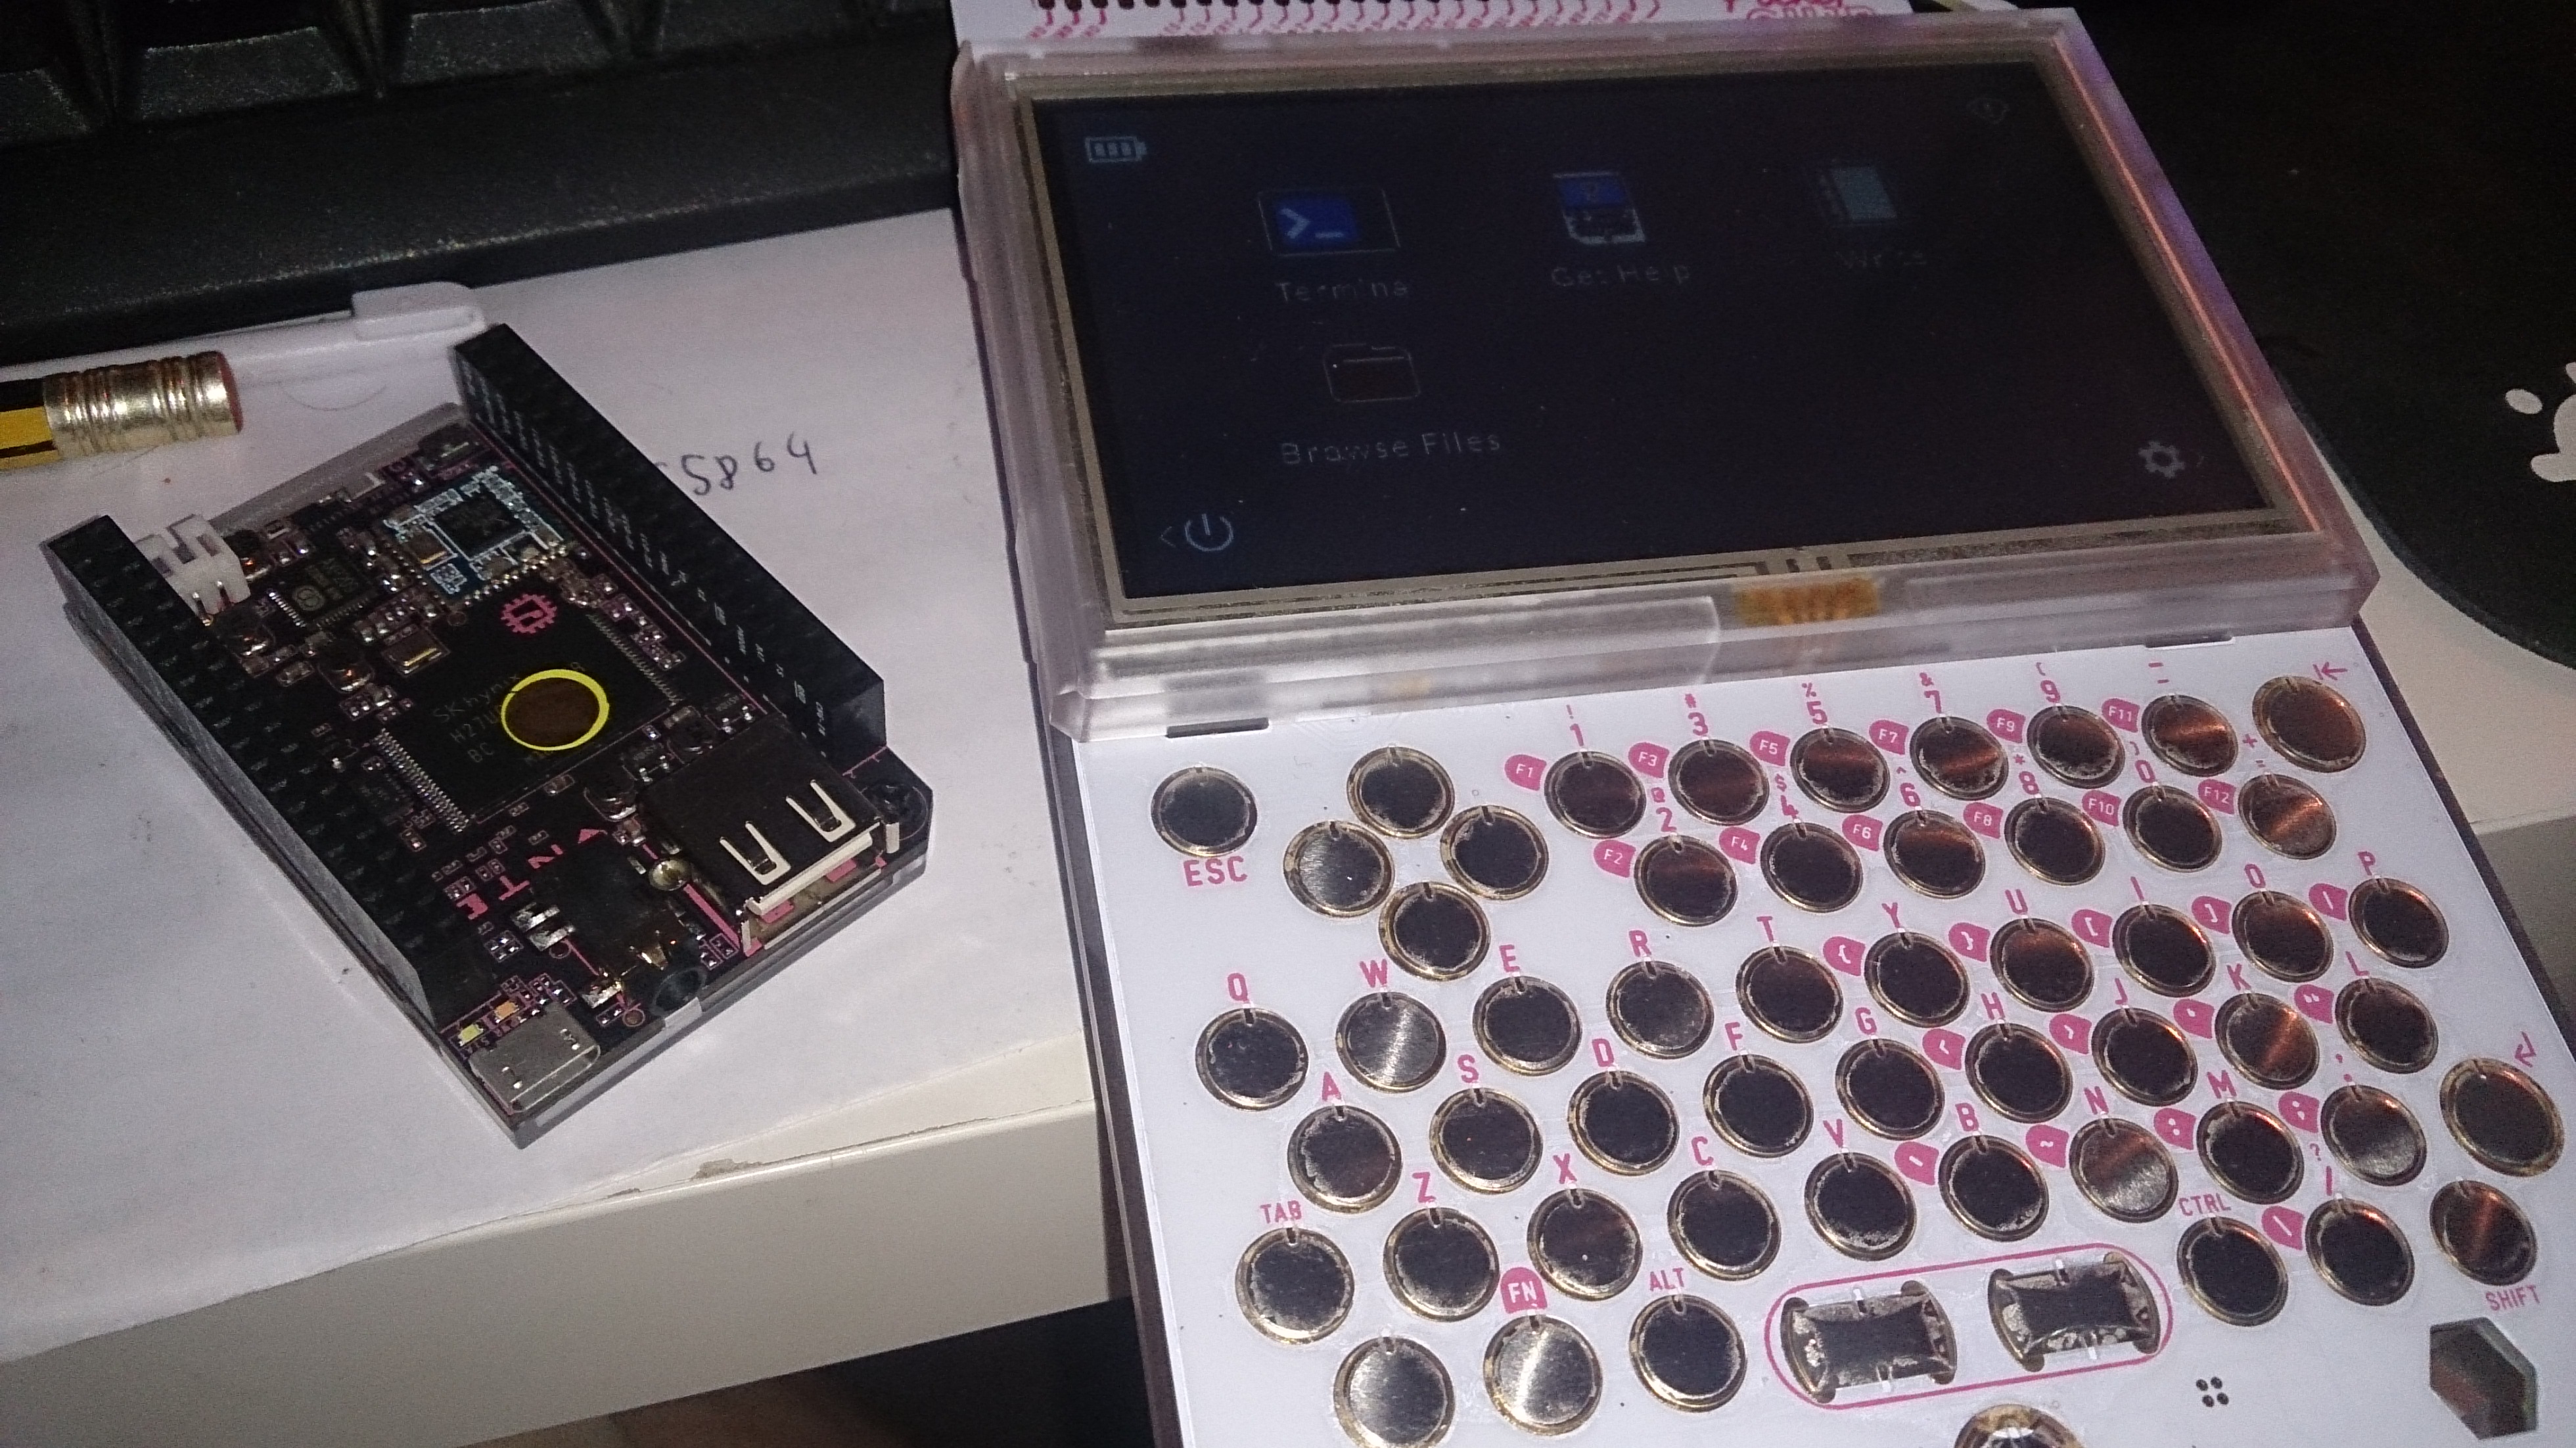
    Newest Family Member is a PocketC.H.I.P.

    C.H.I.P. and PocketC.H.I.P.

    C.H.I.P. and PocketC.H.I.P.

    Recently we've had a new addition to our family. A kickstarted one. So in the future, there probably will be relevant articles here as well.

    There are allready a few things planned with this 9$ PC.


  4. Teaching again (advanced programming)

    At the end of this semester I will give six hours worth of exam preparation for the 2nd year computer science bachelor's students in "advanced programming".

    While I have yet to consult with the teacher, what the focus of the exam will be, the following topics are covered during the run of the course:

    • Formulas and terms, signatures, algebraic data structures, tree-domains, pattern-matching, rewriting systems
    • Higher order functions, polymorphic functions (including typeclasses), lambda-calculus, recursion patterns
    • lazy evaluation and infinite data structures
    • git version management as a directed acyclic graph, code smells, refactoring

    Most of the time the students try to apply the material with Haskell and C#.

    While this course is more structured than the last one I helped preparing for the exam, the examination itself is not that rigid and it will be a fun challenge that I am very much looking forward to.


  5. Installing Cockpit on Raspbian

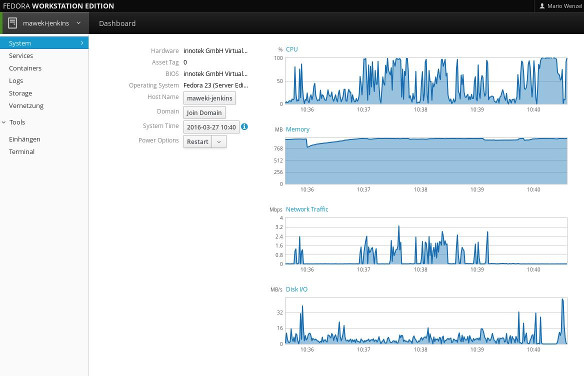
    Cockpit

    Cockpit

    I was playing a bit with with a Raspberry Pi B and raspbian and I wanted to install Cockpit on my pi. Sadly, we can't use the provided debian repository since they do not provide packages for our Pi's processor architecture.

    So we do it ourselves.


    First thing, we need to install node. If you already have a current node installation, you don't need to do that.

    Starting with node, we download the latest node source code and unpack it wget https://nodejs.org/dist/v5.9.1/node-v5.9.1.tar.gz && tar -xzf node-v5.9.1.tar.gz. We now can just cd in there (cd node-v5.9.1) and build and install it (./configure && make && sudo make install). This will take quite some time. This might even take a few hours. After the configure step, you can make > makelog & and then disown in order to leave that session alone and even close it. But don't forget to sudo make install once it's done.


    Now on to building Cockpit itself.

    First we need to install all the build dependencies:

    sudo apt-get install autoconf intltool libglib2.0-dev libsystemd-journal-dev libjson-glib-dev libpolkit-agent-1-dev libkrb5-dev libssh-dev libpam-dev libkeyutils-dev glib-networking
    

    After we've installed all the build dependencies, we can download the sources of the latest release from github. In my case, this was 0.99.

    wget https://github.com/cockpit-project/cockpit/archive/0.99.zip && unzip 0.99.zip
    

    After we cd-ed into the source directory, we can, more or less, follow the building instructions.

    Create and switch to the build directory and run autogen.sh. I had to disable pcp because I wasn't able to find the header files in the raspbian repository. We also disable documentation creation.

    mkdir build
    cd build
    ../autogen.sh --disable-pcp --disable-doc
    

    And once this step is done, we compile it, install it and copy some authorization files.

    make
    sudo make install
    sudo cp ../src/bridge/cockpit.pam.insecure /etc/pam.d/cockpit
    sudo sh -c "cat ../src/bridge/sshd-reauthorize.pam >> /etc/pam.d/sshd"
    

    And we're basically done. Start cockpit with sudo systemctl start cockpit.socket and enable it to run on boot with sudo systemctl enable cockpit.socket.

    You're now good to go to access cockpit on port 9090 or integrate it in your cockpit landscape.


« Page 5 / 8 »

links

social

Theme based on notmyidea